Sewing Curtains
before adding the heading
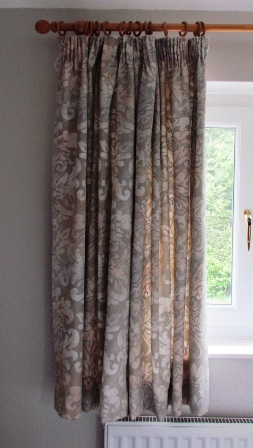
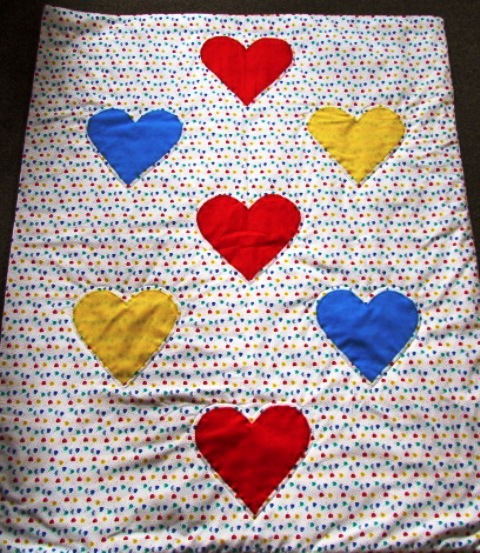
Sewing curtains, or drapes as they are sometimes known, can compliment cushion making especially if you want them to match.
One way of doing this is to buy curtains that are too long for your window and then trim the excess off to get some material for your cushion. The other way is to get fabric for both. When sewing curtains a lining can be added if required, but they can also be made unlined.
However cushions and curtains don't need to match as it is good to have different colours that will compliment each other.
To begin making curtains the track or pole should be in place, the window measured , the style of curtain chosen and the amount of fabric calculated along with any curtain lining material. Once the fabric has been bought any adjustments such as pattern matching should already have been done.
Steps to Sewing Curtains before adding the heading.
Unlined Curtains
Iron the material if necessary to give a smooth surface. Lay the fabric wrong side up and measure the cut length of the fabric. That is the finished length and extra material for the heading and hem. A clean floor is the best place to do this or a large work surface. Curtains need space.
Sew the lengths together to get the width for each curtain either 2 widths or 1 + 1/2 widths. Press seam.
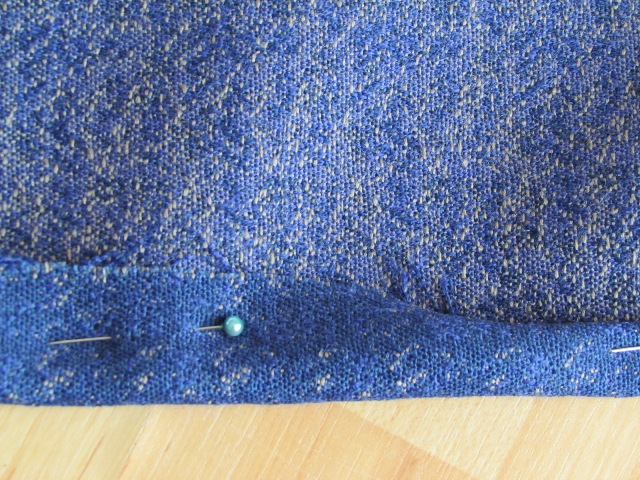
Measure the side seams, pin and press. Turn the raw edges to the inside and sew along the turned hem
Turn the raw edges of the hem under, press and turn up hem to the required length and either machine or hand stitch in place. For full length curtains any machine sewing will not really be noticed.
The curtain at this stage should now have the side seams and hem turned and sewn. This just leaves the heading which will be different for pencil pleat, eyelet or tab top curtains.

Lined Curtains
The above steps for making unlined curtains can also be used for making curtain lining. Adjust the side hems so that the lining does not extend beyond the actual curtain and make the linings shorter than the curtain.
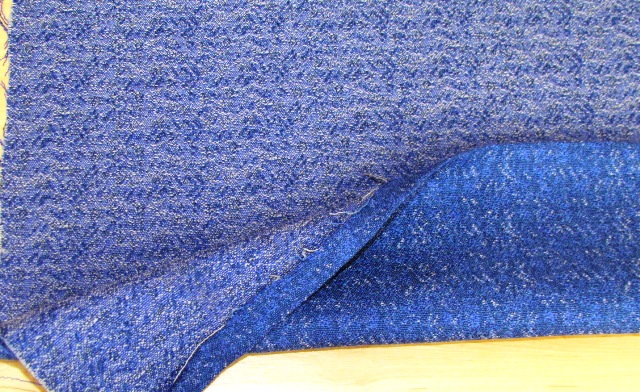
Lay the curtain wrong side up and place the lining on top right side up matching any seams or as close as possible. Different fabric widths can make this difficult. Pin the lining at the top of the curtain to then continue with the heading.
The lining can either be attached to the curtain just by the heading so the sides and bottom edge are separate or can be caught into the side hem and the bottom hem. There will be no need to hem the lining if this is wanted just lay the lining on top of the curtain and hem the sides and lower edge together.
Enjoy making your curtains.
Return from Sewing Curtains to Types of Curtains
Affiliate offers
Please take care with any soft furnishing that it does not come into contact with any heat source.
If you have found an error on this page or want some more information on sewing cushions.
Please contact me . Thank you
Cushions and more participates in affiliate advertising and receives a small payment from these adverts.
I now have a few items available in my Etsy shop.
Cushions Galore Newsletter
Recent Articles
-
Sewing crafts are great ways to show off many complex skills.
Jun 10, 23 09:25 AM
 Want to try something different? There are many types of sewing crafts to learn and conquer.
 -
Beads used as decoration have such a dramatic effect.
May 14, 23 09:01 AM
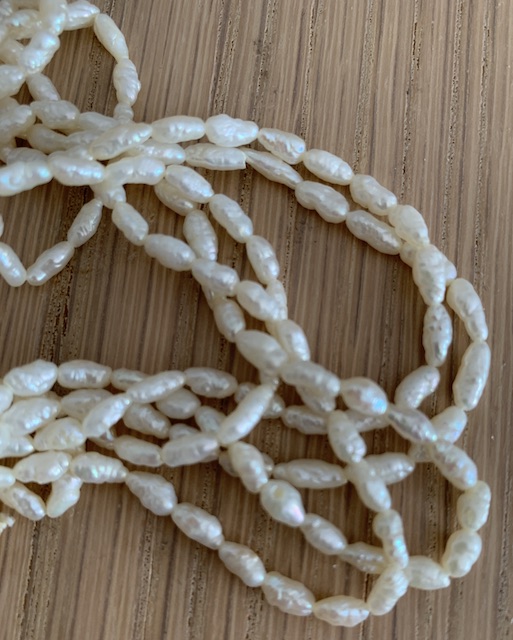 Highlight some fabric design with beads
 -
Crochet hooks are used instead of needles in this craft.
May 11, 23 07:33 AM
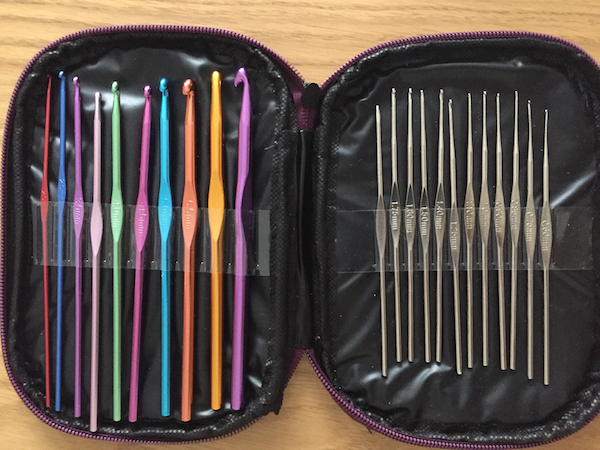 Start at the beginning with learning to hold the crochet hooks.
New! Comments
Have your say about what you just read! Leave me a comment in the box below.