Making the Crochet Chain Stitch
The crochet chain stitch is the basis or the starting point for any crochet item whether it is in a block of straight crochet, a granny square or a round crochet circle.
It can also known as the crochet foundation stitch as the chains made will be the start or the foundations for your crochet project.
Steps to making a crochet chain stitch
Make a slip knot first.
At the start of both knitting and crochet the first stitch is the slip knot and from this the first chain can be made. It is called a slip knot because it is easily pulled apart.
I have shown how to do the slip knot by using my hand but it can be done around the fingers or using a crochet hook as well.
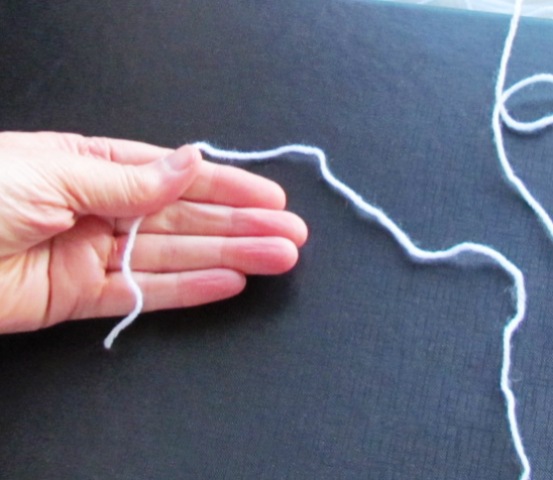
Take the wool and carefully wrap this around your hand until it meets at the thumb again, making sure not to pull it too tight.
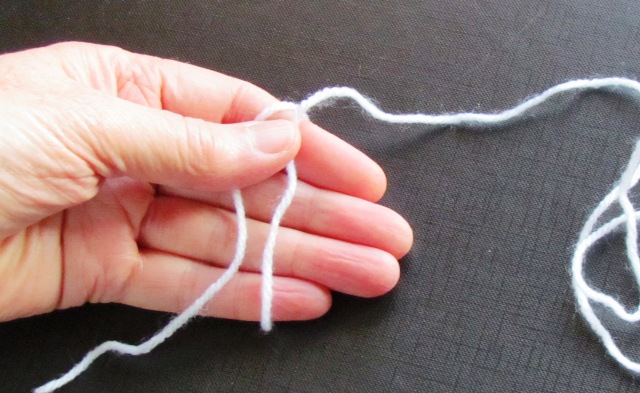
Take the wool strand that is attached to the ball (not near the end) and feed it under the wool strand at the back of the hand and pull through slowly.
I usually allow about a 15 cm or 6 inch length from the end of the ball of yarn to make sure that the end doesn't accidentally come through the slip knot. It also makes it easier to hold onto the yarn when making the first crochet stitches into the chain or foundation row.
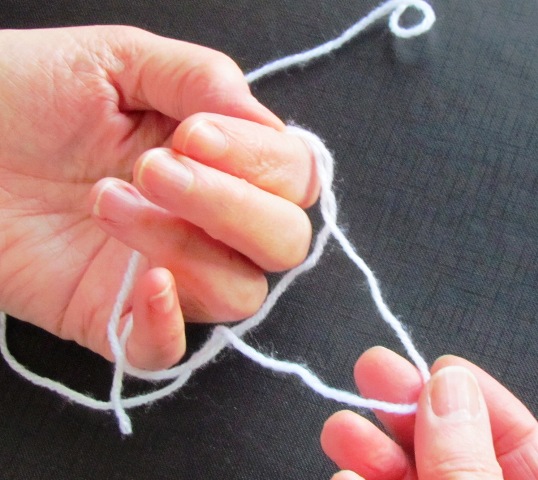
Take your hand out of the circle of wool and keep hold of both strands while tightening the loop. If the loop is too big then this can be adjusted by pulling the strand that is still attached to the ball of wool until it is small enough to allow the crochet hook through.
This process can also be done just using the forefinger and thumb of your non dominant hand.
Making the Slip Stitch - Video
Making the crochet chain
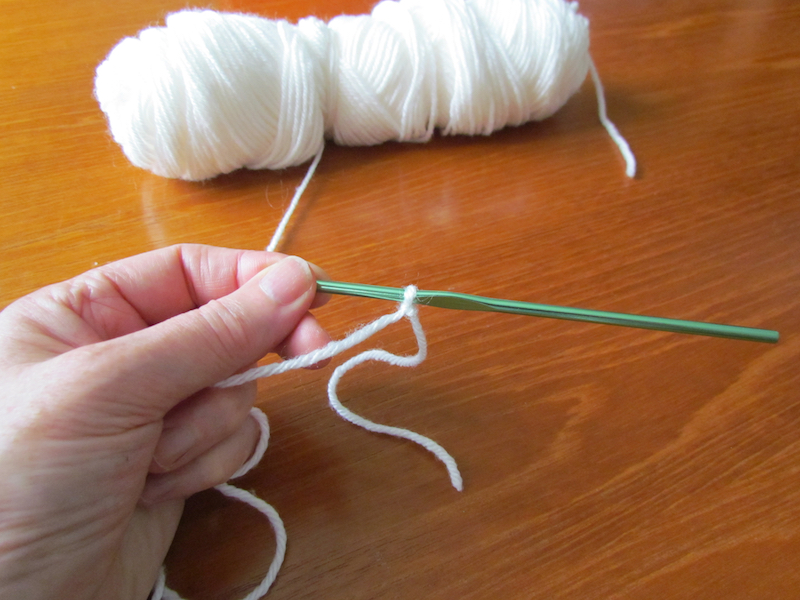
Place the hook through the slip knot and tighten the wool so the wool runs freely but without being too tight or loose.
Hold the wool and hook comfortably in your hands. As you proceed you will find the best and most comfortable way to hold the hook and the wool. There is no set way as it is a personal preference.
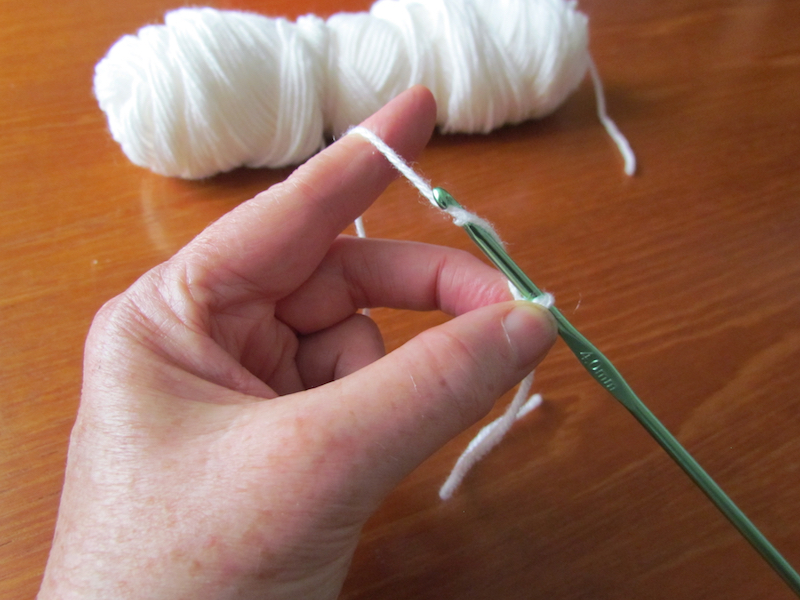 Wrap or grab wool with hook
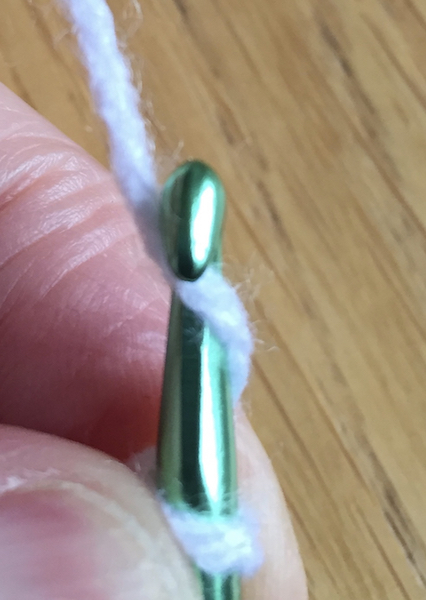 Close up of wrapping or grabbing wool with hook
It is probably best to hold the bottom of the slip knot with the thumb and forefinger of the hand holding the wool. Then using the hook wrap or grab the wool with the hook.
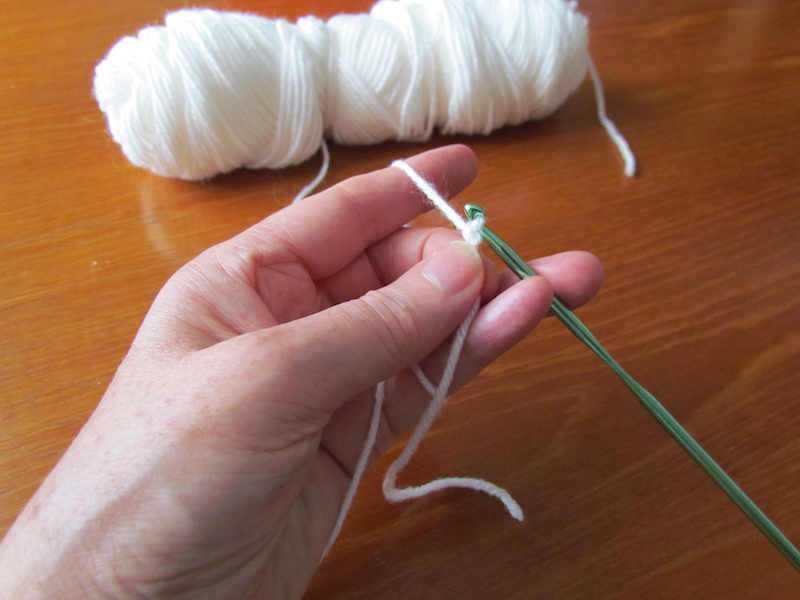 Pull wool through slip knot
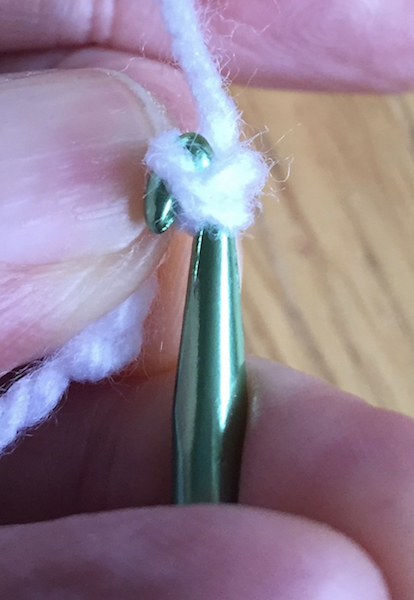 Close up of pulling wool through slip knot.
Carefully pull the wool through the slip knot and that is the first chain. There will always be one chain on the hook and the rest fall underneath the hook.
Repeat again grabbing the wool and pulling it through the chain on the hook and this time you will have one chain on the hook and two chains hanging underneath.
When making an item you will need to make a certain number of chains that will become the foundation or starting row. The chains are counted from underneath the hook and the one that is on the hook is not counted.
The more chains you make you will find that if you keep your grip near the bottom of the one on the hook the better the tension will be.
The front of the chain is in the shape of a chevron and the back of the chain has little bumpy ridges showing there is a difference between the front and back.
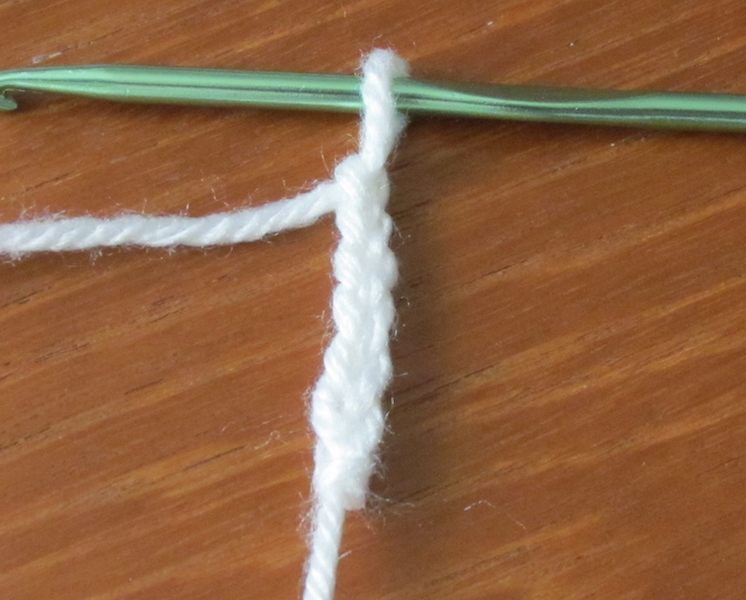 The chevron shape of the front of the crochet chain.
Making the crochet chain - Video
Description of a chain stitch
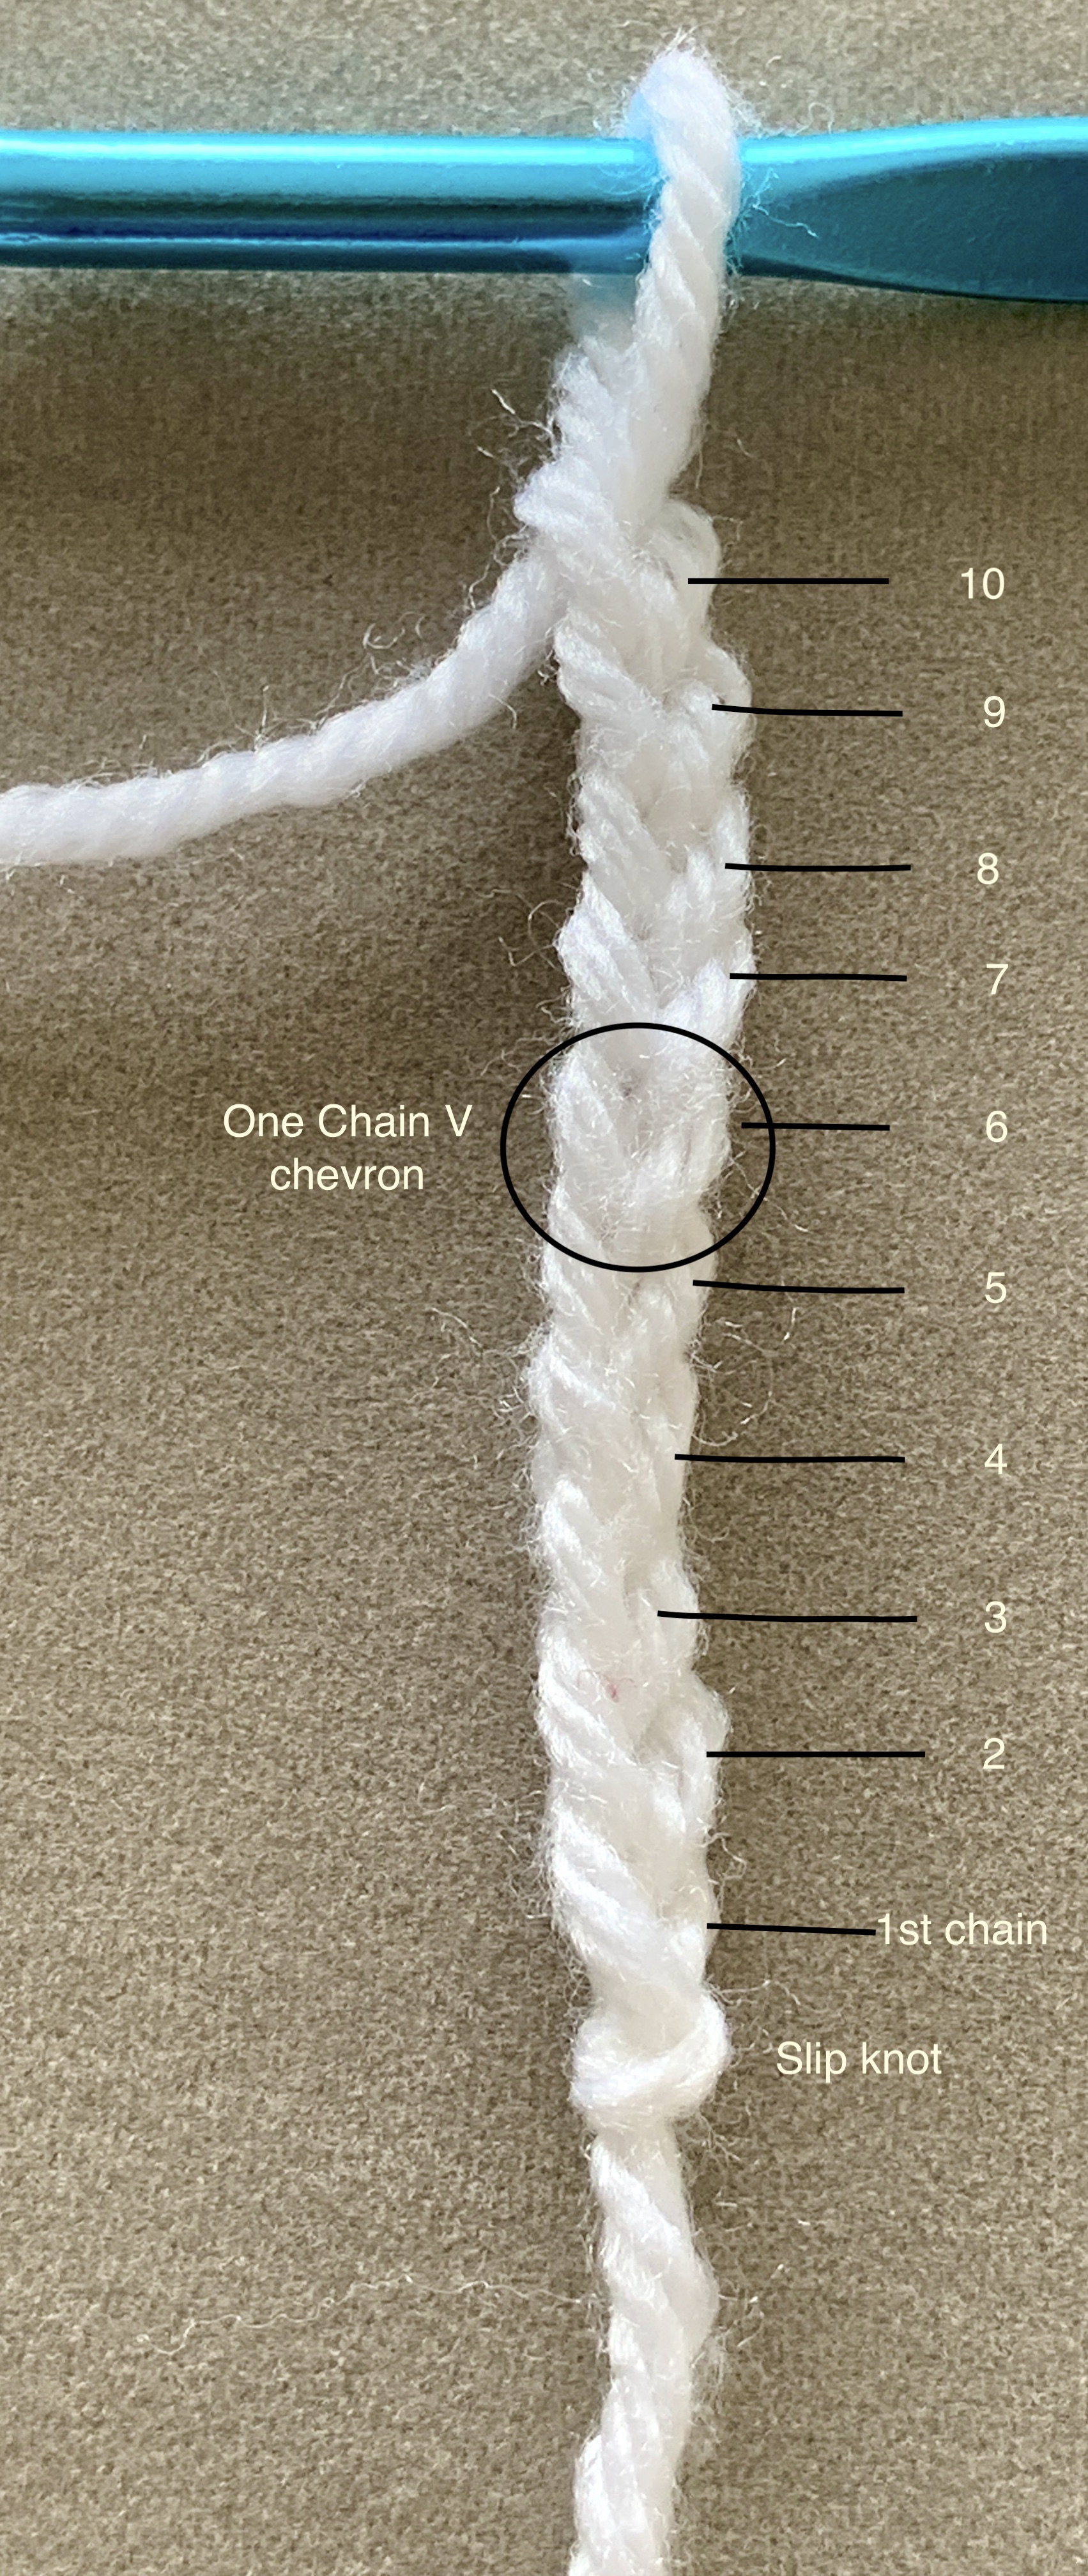
In the picture above the single chain stitch "V" is circled. If turned on its side there would be a front and a back stitch.
In this picture we can say that the right hand side of the chevron is the front stitch and the left hand side is the back stitch
This is also a chain of 10 chain stitches which are all numbered. Starting at the slip knot (which is not counted) and then every chevron until the chain still left on the hook, which is also not counted when making an item.
This strand of chains is now used as the starting or foundation row of your crochet items. This is when many lovely things can be made.
I find it is always hard to do the first row of any straight crocheting, such as a cushion cover or a washcloth, as you have to make sure that you go through all the chains so take your time and count often. It is easy to miss one and then the pattern doesn't go well.
l like to use the front and back loop (using the complete V chevron) of the chain when doing the double or treble crochet stitch as this gives a firmer base. There are different pattern that only use one of the loops and this gives a different look.
A Granny square also starts with a row of chain stitches which are then put into a circle by a slip stitch.
Enjoy your crochet.
Affiliate offers
Please take care with any soft furnishing that it does not come into contact with any heat source.
If you have found an error on this page or want some more information on sewing cushions.
Please contact me . Thank you
New! Comments
Have your say about what you just read! Leave me a comment in the box below.