How to Crochet
For Beginners
How to crochet for beginners for me was just learning how to crochet. It was not something I had thought of doing.
I had tried this craft many years ago and couldn't master the basic step. In the last couple of years I have been able to conquer my fears and can now crochet.
Having mastered the craft of knitting years ago, I tried and tried but couldn't get the hang of the single crochet hook and tangled up all the wool. So this craft went on the back burner....until a few years ago.
When learning a new craft it is best to break it down into small bits which I didn't do before as I quickly wanted to make something there and then, most of us are guilty of thinking a little along these lines.
This year I thought I would try again and began learning the first three basic stitches and turn some wool into an item to use.
When I first began to crochet I didn't realise what size of hooks I would need so I purchased a pack from Amazon. It had all the sizes I thought I would need and to be honest there are some finer ones I still haven't used.
I love this pack and as it comes in its own carry case. When I am travelling I can put some scissors, needles and any other small items inside in case I need them.
Additional help for beginners
How to crochet for beginners - The Basics
Holding the Crochet Hook
Crochet is very similar to knitting and to a certain extent sewing as it is made with different types of loops link into each other. These types of loops form a pattern and then these can be made into many things.
As with knitting there needs to be a starting or foundation line. In knitting it is the casting on row and in crochet it is the chain stitch that is used as a foundation row.
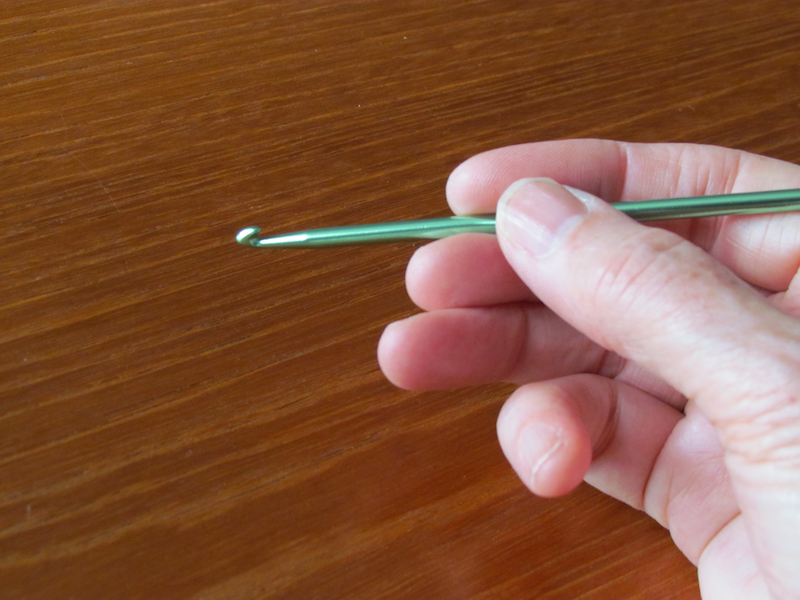
The crochet hook is held,in your dominant hand, much like a pencil but it is really how it feels in your hand and that you can comfortably push the hook through the loops to hook the wool for the next stitch.
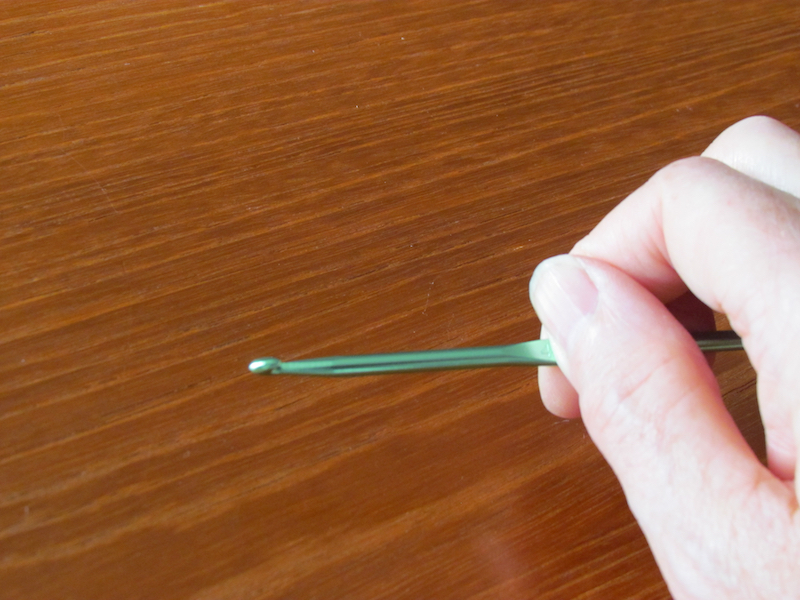
I prefer to hold the hook almost like a spoon, that way the hook can scoop into the wool chain.
The way that will suit you will almost come naturally as you progress with learning to crochet.
Over the years the way I hold the hook has changed from a spoon to a pencil. Although when crocheting the first row after a foundation row I still revert to the spoon way just so I can get both edges of the chain in the right place.
Holding the Wool
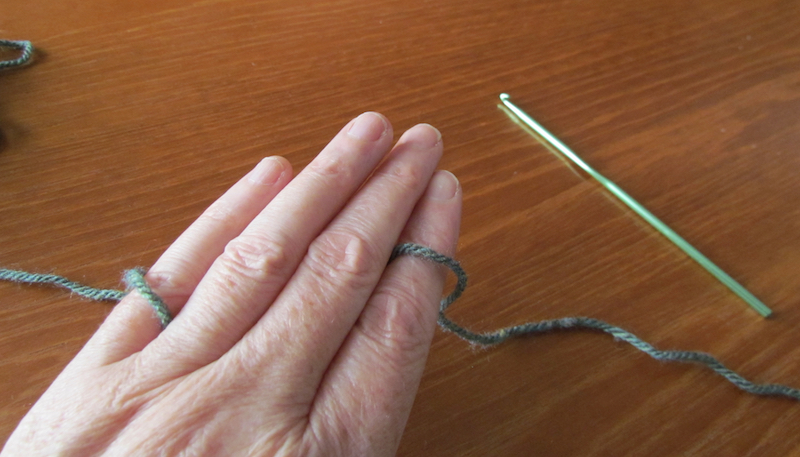 Holding the wool viewed from the front of hand
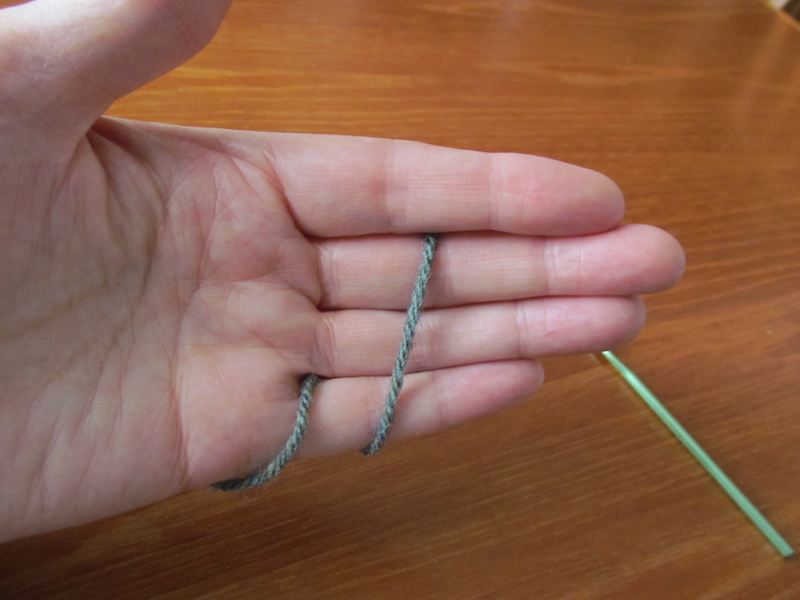 Holding the wool viewed from the back of hand
In the other hand the wool is held not too slack but also not too tight as just like knitting the tension of the wool is important to the end result.
Again the way the wool is held depends on you. Some wrap the wool around more fingers especially if just starting out so that the stitches are not too loose. The more you crochet the wool hold will come naturally to suit you way of crocheting.
The wool should just slide between your fingers and allow you to crochet easily if the movement of the wool is tight then your item will not look right. Likewise if the wool is too slack then the item again will be too open in the weave.
When I started out I tried to do a few rows and then pulled them back and starting again many times.
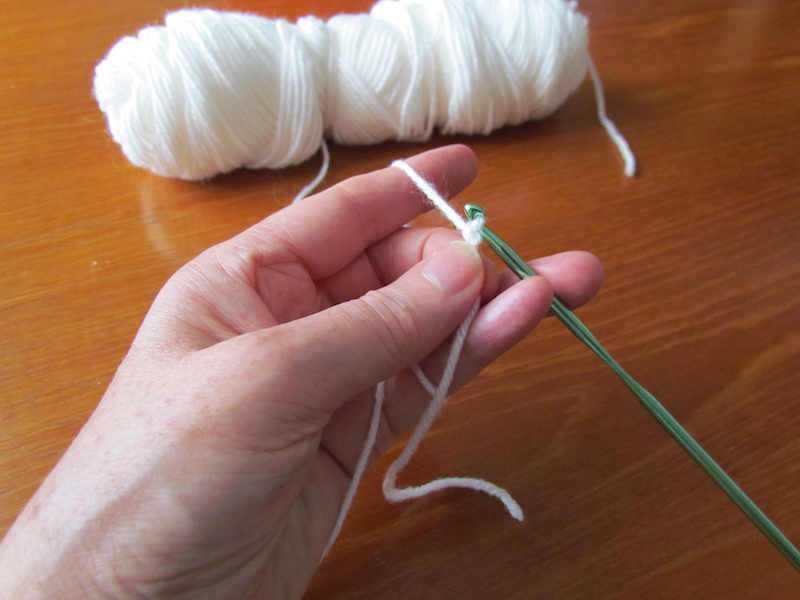
Again as I do my crochet now my index finger is held higher as if pointing an this allows me to control the yarn or wool easier.
How to Crochet for Beginners - Getting Started
1) Make a Slip Stitch to begin.
Start the first stitch as making a loop or slip stitch with the wool.
This can be done a a few ways and wrapping the yarn or wool around the fingers is the way I have always done.
2) The Chain Stitch - The foundation row
The crochet hook can then go into this loop and pick up a strand of wool that is in the other hand. Then it is pulled through the first slip stitch. This makes another loop.

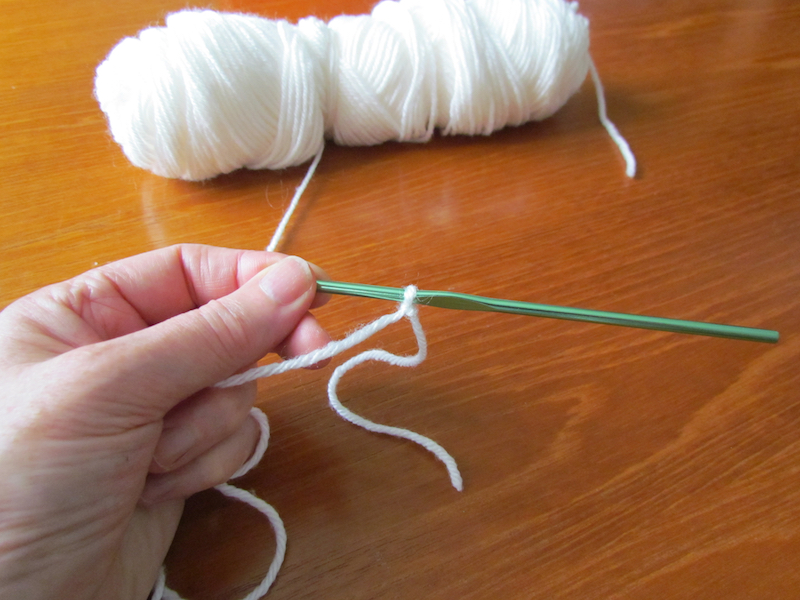
When beginning the chain stitch to make the foundation row in crochet, I like to hold the bottom of the slip stitch between my thumb and middle finger to keep it in place.
Wrap the wool around the hook so it catches on the hook end.
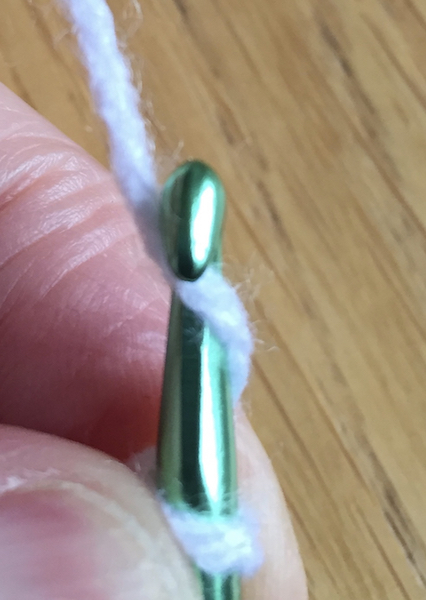
This picture gives a close up of where the wool or yarn should be.
The crochet hook can then be turned down to help to guide the wool or yarn when pulled through the first slip stitch.
Turning the hook make sure that the hooked end doesn't snag the slip stitch as well and the first chain stitch.
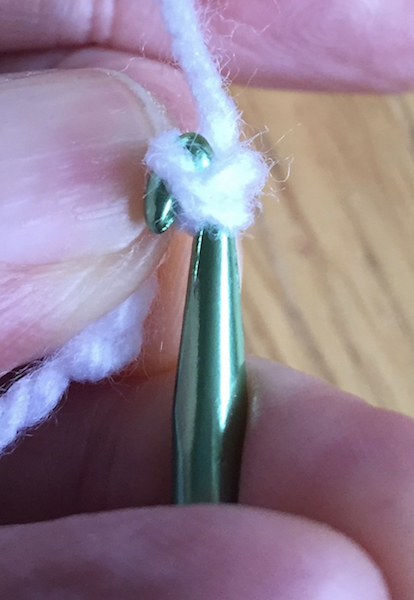
This picture shows the wrapped around yarn being pulled through the first chain stitch.
Be careful not to have the stitch to tight so it is difficult to bring the crochet hook through.
This is then repeated until you have the correct number of chains on the hook without counting the chain that is on the hook itself.
How the chain stitches will look.
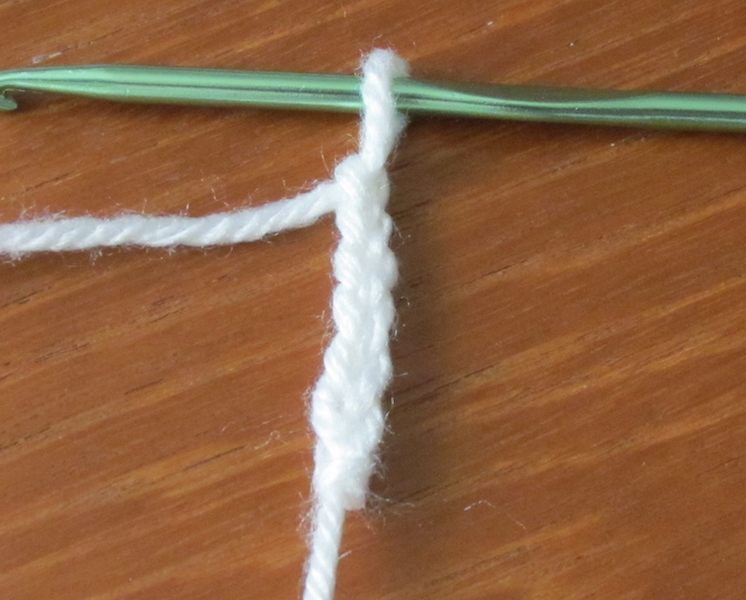
The front of the foundation chain stitch row will appear as little chevrons or "V" shaped stitches.
The back will have little bumps so you can tell the front from the back.
Once you have mastered how to crochet for beginners....
Enjoy, there are a lot of things you can make.
- Home
- How to Crochet For Beginners
Affiliate offers
Please take care with any soft furnishing that it does not come into contact with any heat source.
If you have found an error on this page or want some more information on sewing cushions.
Please contact me . Thank you