Knitting rib stitch
The ability of knitting rib stitch will help to make many garments either enhancing a plain knit garment or one made only from rib stitch.
The majority of knitted clothing will start with the rib stitch on sleeve cuffs or the bottom edges to the front and back pieces of cardigans and jumpers.
The rib is also used around necklines and done when the garment has been sewn up and is almost completed.
This stitch has an elasticity to it so it will stretch to all a hand to through a sleeve and then will constrict or tighten up again around the wrist. This is the same around the neckline even more so if the garment has a high funnel neck.
When the rib is on the bottom edge of a cardigan or jumper it can bring the garment into shape slightly and can give a firmer edge.
Different patterns can be done in rib the usual one is one stitch knit and then one stitch purl, repeated along the needle or row.
When a few rows are completed the knitting will look as if it had dips and raised areas.
A variation of this is adding more than one stitch of each and making the rib wider.
Knitting rib stitch in video
Twisted rib - A different look to the rib stitch
Knitting Rib Stitch - The Basics
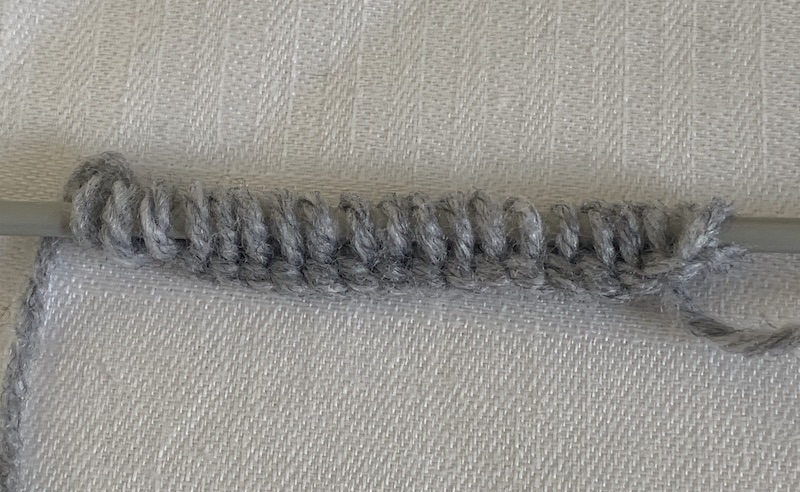
To begin knitting the rib stitch, cast on the amount of stitches that is needed for the item that is being made. This can vary from a small number of stitches to a lot if making a jumper for an adult.
The picture shows a small number of stitches.
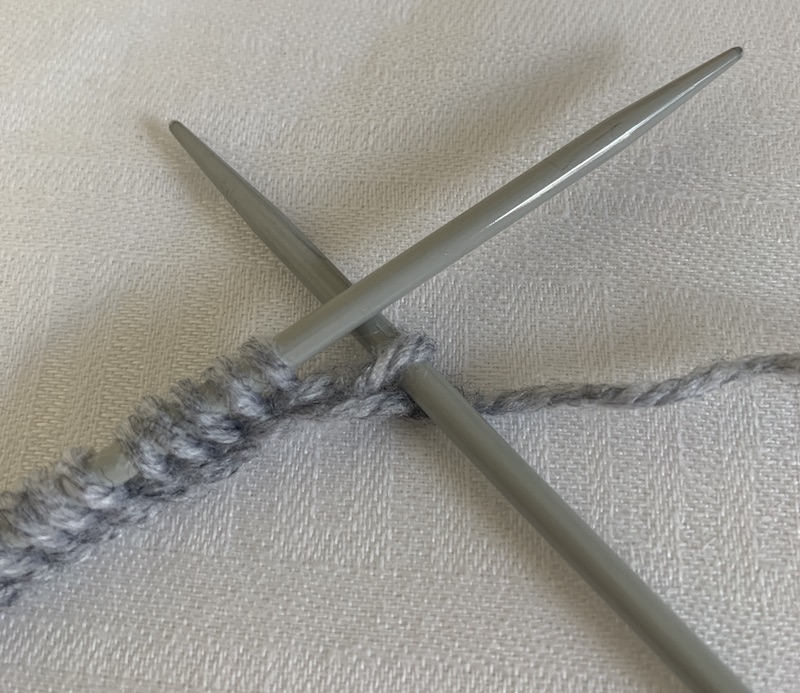
The first stitch is usually a knit stitch on the right side of the work.
The purl stitch would be the start of the of the second row at the back of the work but would also depend on how many stitches there were.
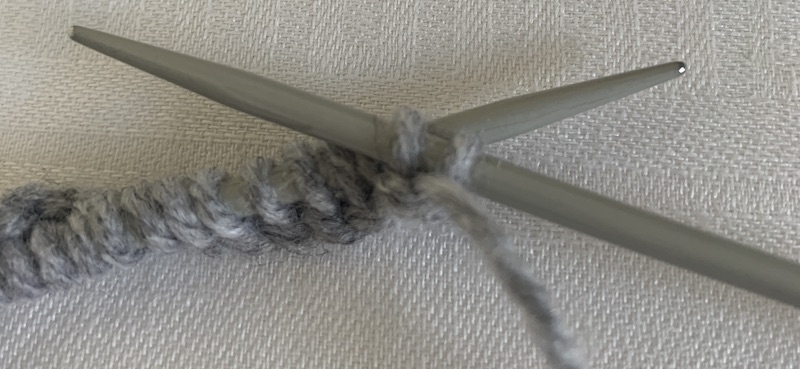
The second stitch in knitting rib is the purl stitch.
To knit this stitch remember to bring the wool to the front on the work ready to knit purl.
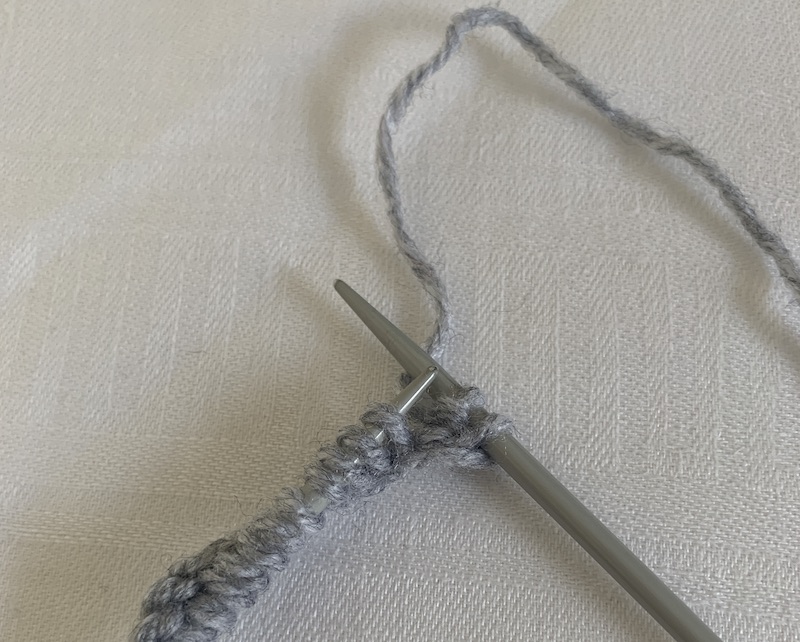
Remember to bring the wool to the back of the work ready to knit another knit stitch for the third stitch.
Continue all the way along the row knitting and purling alternate stitches.
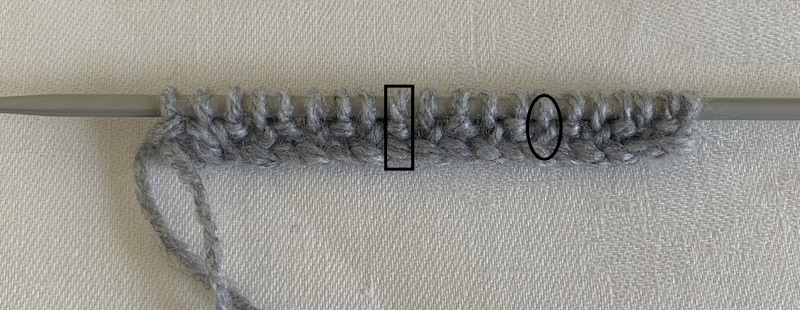
This is the completed first row of knitting the rib stitch. There are little bumps and chevrons which shows the difference in the two stitch types.
The rectangle shows a purl stitch and the oval shows a knit stitch.
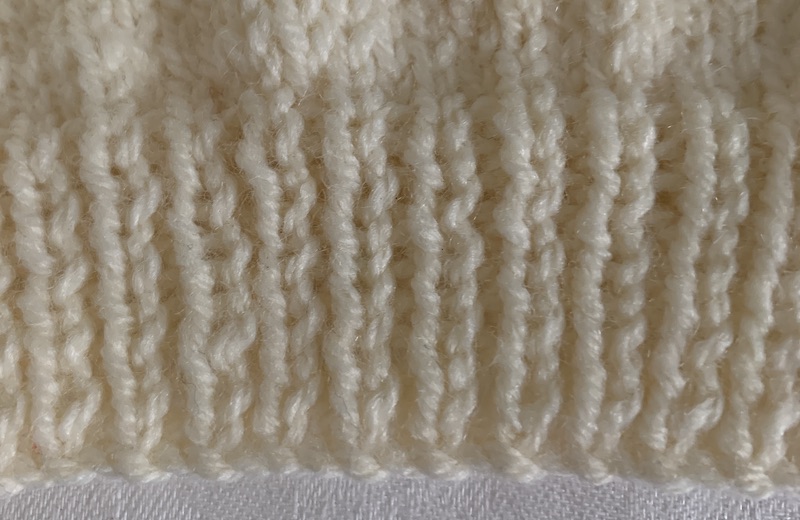
Although a different colour to the steps above, this picture shows ten rows of rib stitch where you can see the peaks and dips of the knitting.
Different styles of knitting rib stitch.
Double Rib Stitches
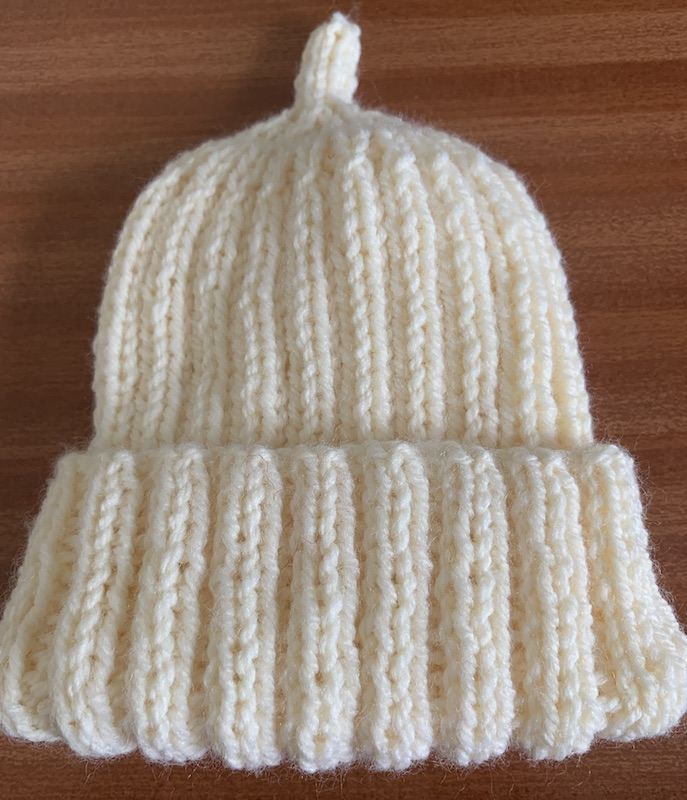
This little hat is knitted in rib but instead of knit one, purl one it is done by knit two then purl two.
This will give wider peaks and dips to the garment and it feels slightly thicker as well.
Knit stitch is always done with the yarn at the back whereas the purl stitch always has the yarn at the front.
The Twisted Rib
As shown in the video above the twisted rib is knitted into the back of the stitches.
The slightly twists the yarn and this gives a slightly tighter rib stitch but still with the slight stretch to it that is needed when knitting the cuff, neck and edge of a garment.
The best way to see which one you prefer is to try a tester square.
Make up a few different patterns of your own and then sew them into a blanket for a child, pet or yourself.
Enjoy learning to do the rib stitch.
Affiliate offers
Please take care with any soft furnishing that it does not come into contact with any heat source.
If you have found an error on this page or want some more information on sewing cushions.
Please contact me . Thank you
New! Comments
Have your say about what you just read! Leave me a comment in the box below.