Making a Pet Cushion
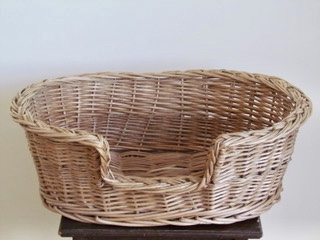
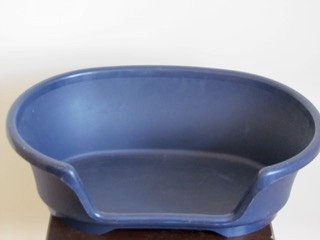
Making a pet cushion is a necessity for these wicker and plastic beds I feel, lovely as they are. Pets, like us, enjoy comfort and will seek out a warm and cosy place to sleep. For my pets in some cases their choice was a little obscure but at the time it was what they needed.
For the beds above I would add lovely soft side and bottom cushions, adding more layers as the pet ages. When my pets were kittens I made some cushions for a wicker bed and 20 years later after they had all gone I had to throw them out. Despite plenty of washes it was still good and had an extra foam cushion underneath to ease stiff joints in their later years.
Steps to Making a Pet Cushion
Getting the Pattern
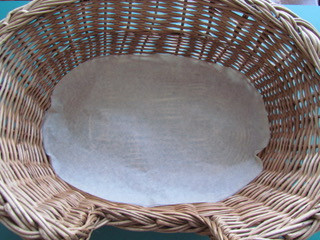
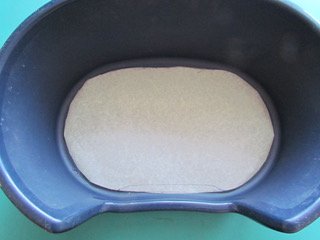
A pattern can be made by drawing around the base of the bed on paper. Any type can be used as long a it is large enough, newspaper or unused wallpaper or brown wrapping paper.
The wicker bed has a lip on around the base so the pattern is larger than the bed base, this can be used as it is without the need to add a seam allowance. The plastic pattern comes up a little small so will need a seam allowance added when cutting out.
A used washed cushion or pillow insert and cover can be used instead of a specially made cushion, then the bed would be ready.
A piece of foam block can be cut out and placed under the cushion for added comfort or the foam can be included in the cushion and will have to be washed all together.
If sides are to be padded as well make sure to measure the width and height and make a pattern for this.

Sewing The Fabric

- Take the pattern and place it on the fabric cut out two pieces and one in wadding.
- Place the fabric right sides together. Place the wadding on top.
- Pin the seams leaving a gap to turn right side out and sew.
- Turn the fabric right side out and the wadding should be in the middle of the two pieces of fabric. At this stage the shaped foam block can be added to the inside. Slip stitch the gap closed.
- To stop the wadding and foam moving inside the cushion cover little stitches can be done by machine or hand all over the base to hold everything in place.
- Buttons could be sewn on for decoration making sure the threads go through all the layers.
Repeat the steps above for the side and back cushion if needed.
The back/side cushion and the base cushion could be sewn together along the seam line to hold them in place.
Just a cushion pet bed
For this type there is no boundaries as the bed can be any size or shape you want it to be. I quite like the doughnut shape with padded sides so the pet can rest their head on it.
This can be made in one or two pieces. Just as a large cushion for the floor or one that has a raised edge. In this case sew a cushion larger than needed turn right sides out and sew a seam a few centimetres in from the edge to create a border on the right side. Leave a gap to allow filling to be inserted, place filling inside, complete the border stitching then place the filling inside the main part of the cushion and top stitch closed.
Enjoy creating your own pet beds.
Return from Pet Cushion to Making Cushions
Affiliate offers
Please take care with any soft furnishing that it does not come into contact with any heat source.
If you have found an error on this page or want some more information on sewing cushions.
Please contact me . Thank you