How to Sew a Button

Figuring out how to sew a button onto a new item or back onto an old favourite one can seem daunting.
Luckily buttons don't come off the garment that easily unless the threads holding it into place have perished or it has been pulled sharply.
When choosing a button to put onto a newly made item, the choice is endless. Gone are the days when buttons had to match the garment as many now add contrast to the fabric. Some bought clothing have one different colour compared to the rest maybe highlighting where that button should be like the neck on a shirt for example.
A well made tailored garment will still have matching buttons as that looks the best when the jacket, suit or shirt is complete.
When you make your own clothes the choice of whether they match or not is totally up to you.
Hopefully at the end of this, you will be able to see how to sew a button onto something.
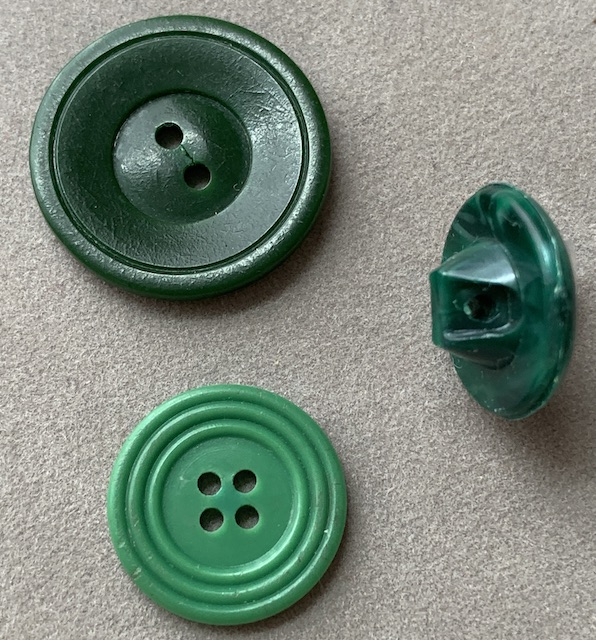
The buttons shown in the picture have different amounts and styles of holes.
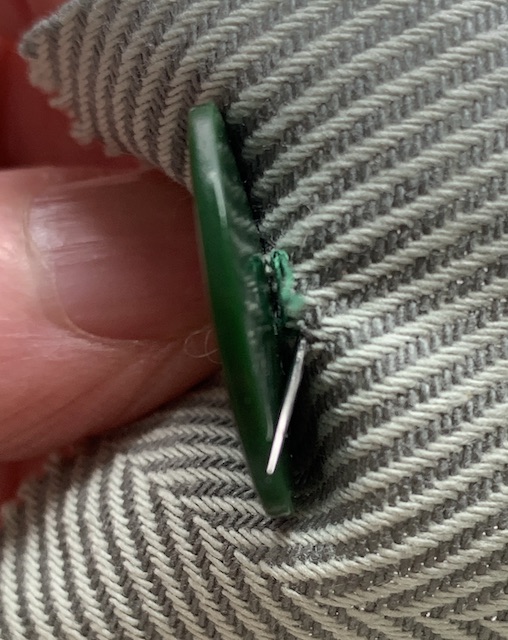
The dark green at the top has two holes, the smaller dark green at the side also has two holes but they are on a shank rather than flat.The lighter green one at the bottom has four holes.
The flat buttons without the shank are known as sew through buttons as that is the way to attach them to the fabric.
Steps to show how to sew a button
If a button is being sewn opposite a buttonhole then it is best to sew it in the middle of the buttonhole. Align the buttonhole and button band on top of each other and mark where the middle is so that it is easier to place the button.
Threading the needle
Thread the needle with a good amount of thread. Not too short so it runs out but also not too long so it gets tangled up.
Single or double thread depends on how much wear the button will have. Buttons that will be opened often need stronger thread so a double strand is preferred.
Decorative buttons will only need a single thread. Make a knot at the end of the length of thread to stop it from pulling through the fabric.
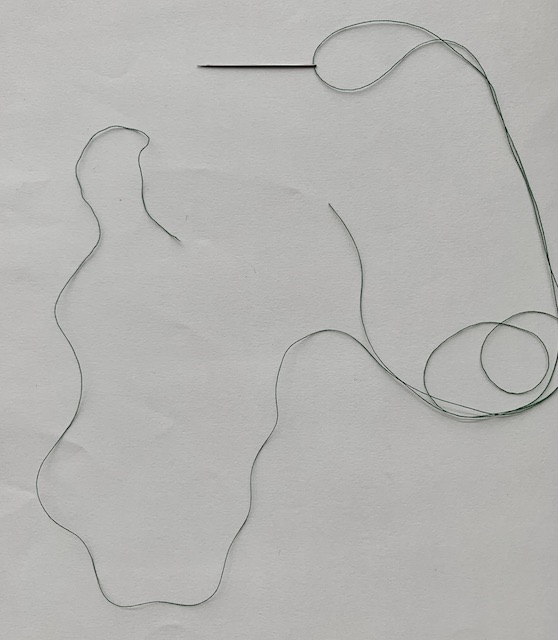
This picture shows a single length of thread in the needle. The two ends can be easily seen.
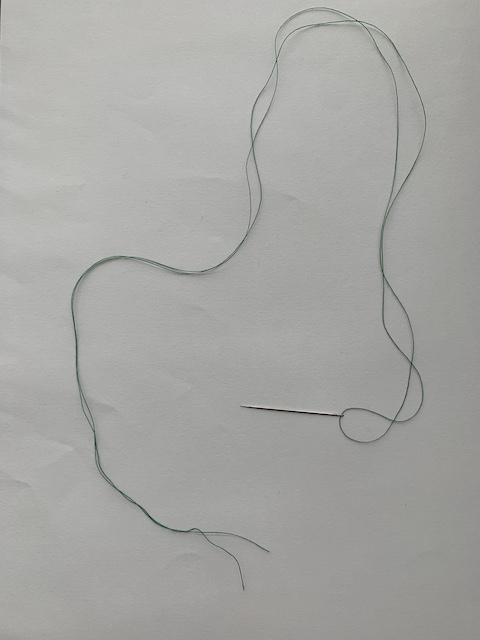
In this picture the thread is doubled and the two ends can be seen just below the needle.

After threading the needle make sure to tie a knot at the end. This is to ensure that the thread doesn't come out of the fabric.
Securing the thread onto the fabric.
The easiest way of securing the thread onto the fabric is to push the needle up from the back to where the button is to go.
Another way if you don't want thread ends on the back is to push the needle in and out of the fabric at the front near to where the button is going.
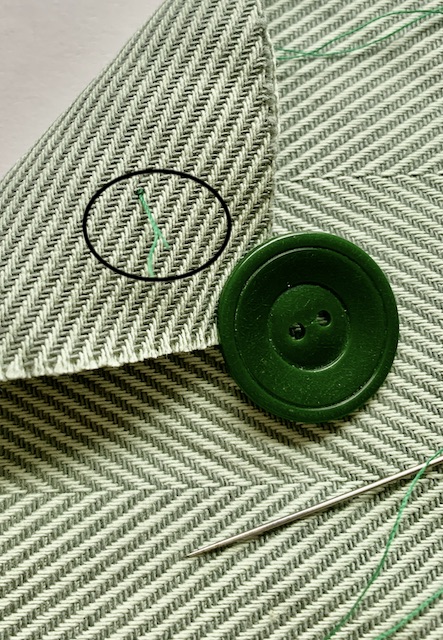 Knot at back of fabric
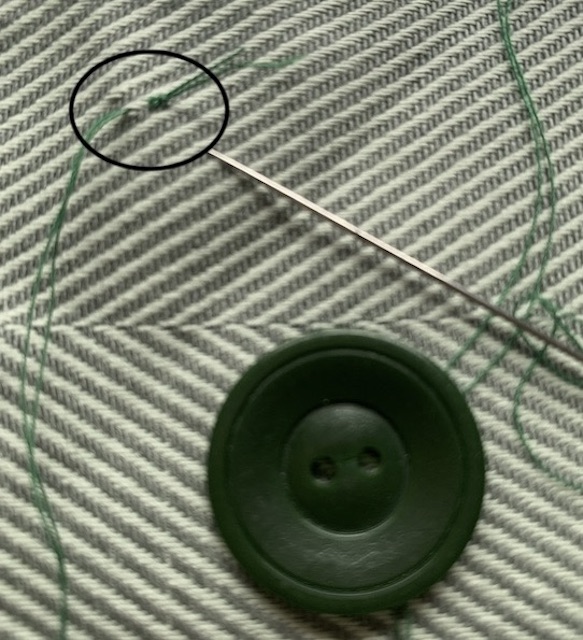 Thread in and out of fabric at the front
Attaching the button
Two Hole Button - Take the threaded needle at the front and put in through the first button hole and then push the needle back through the second hole into the fabric back regardless of how this process began.
Shanked Button - This will start the same but the needle will do straight through both holes and then back into the fabric at the end of the second hole.
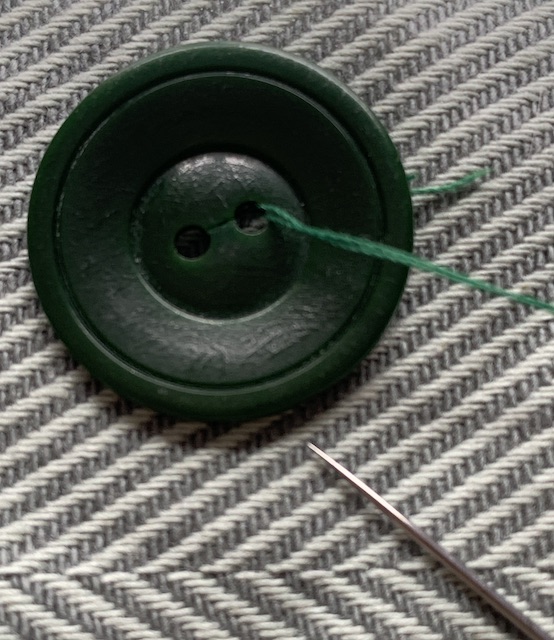 First thread into first hole on button
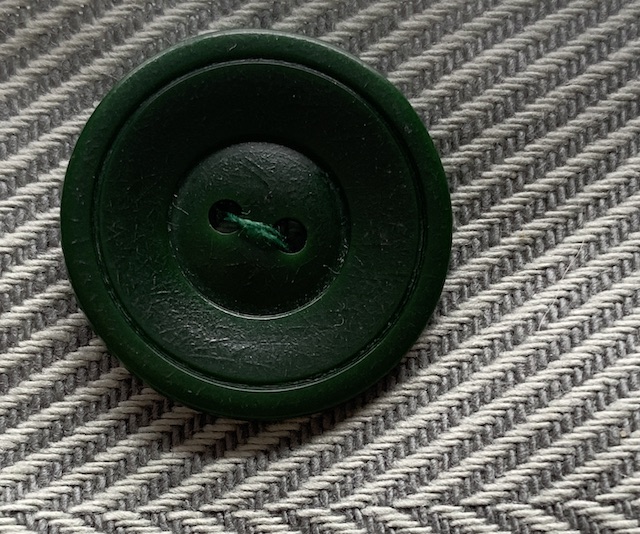 Thread down second hole
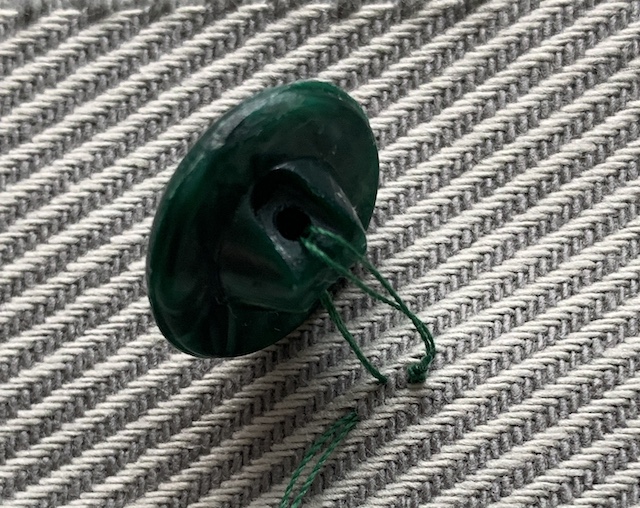 Pull threads tighter so button sits on fabric after going through both holes on a button with a shank.
Four hole Button - This would be the same but you have a choice of whether you choose the second hole at the side of the first. This would need to be done twice or to sew diagonally across from the first hole. After going through the second hole, bring the needle up into the third hole and then diagonally down int the fourth hole. Another way is to do each diagonal separately.
Go in and out of the two or four buttons about three or four times more until the button feels secure on the fabric.
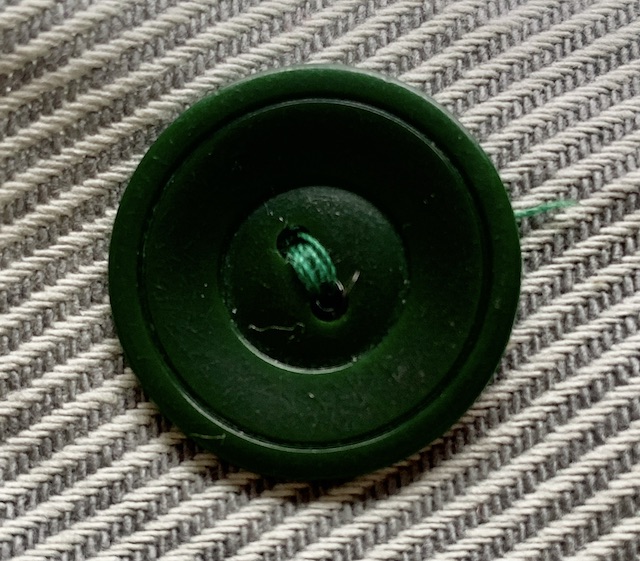 Finished look of two hole button
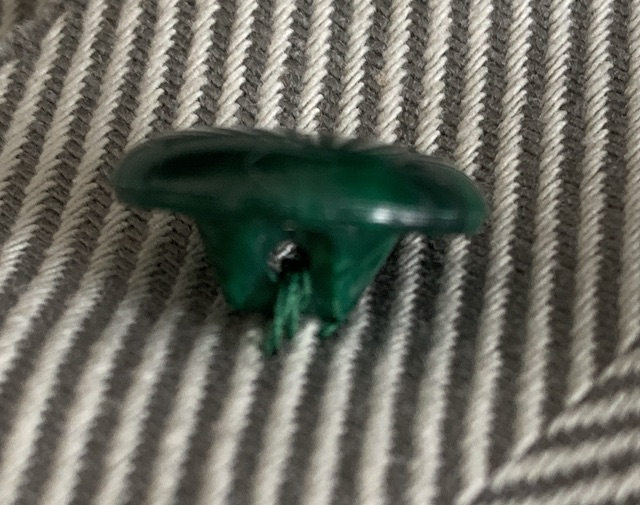 Finished look of shanked button
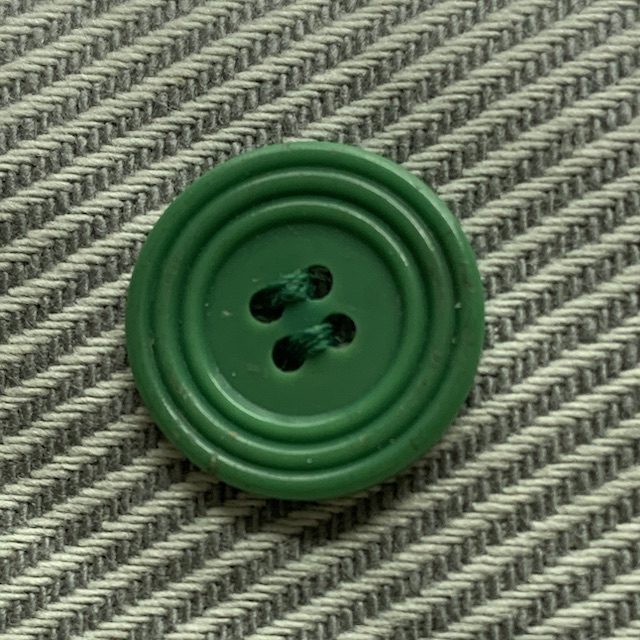 Parallel sewing on a four hole button completed.
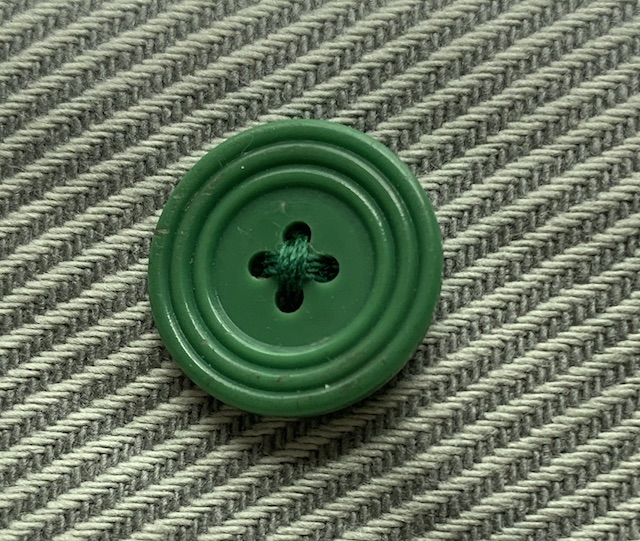 Diagonal sewing on four hole button completed
How to sew a button - Finishing the sewing.
Shanked Button - That is the shanked button finished all that is left to do is to push the needle through to the back of the fabric and secure.
Two and Four Holed Buttons - These need a little more work to give a "sew through" button additional strength. To do this a thread shank needs to be added. This is done by winding the thread two or three times around the base underneath the button. Then put the needle through to the back and fasten off.
 Bring needle from back underneath button
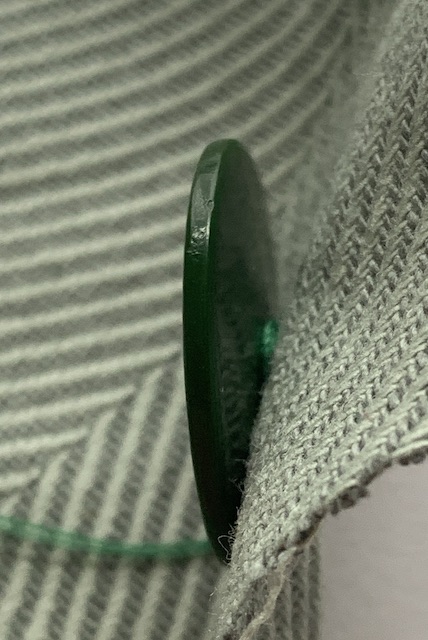 Wind thread around the base of the button.
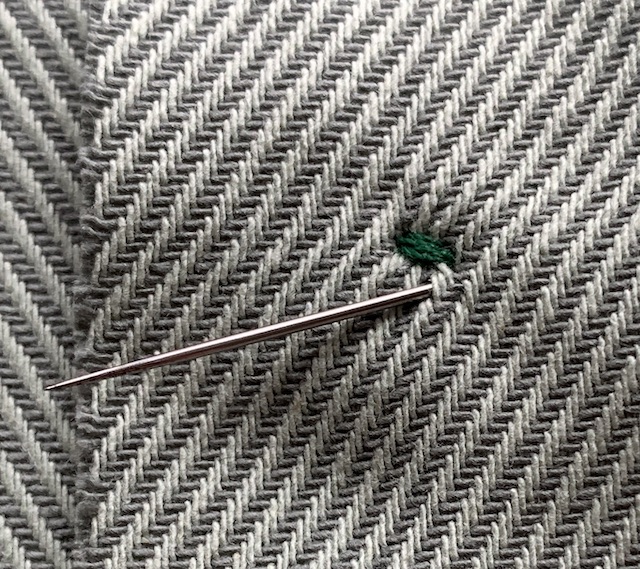 Push needle back through to the back of the fabric.
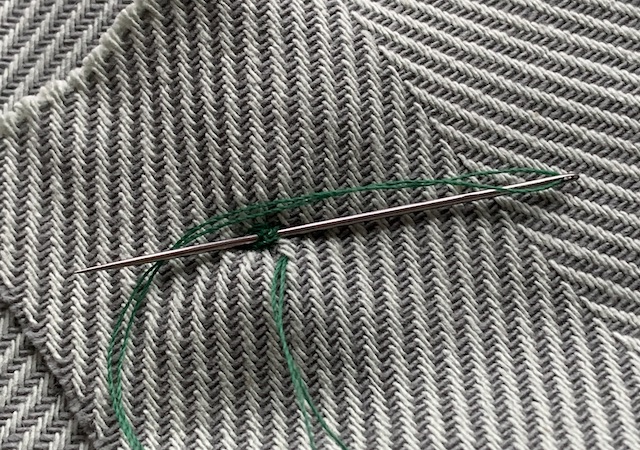 Bring thread under needle so it loops through.
 Pull threads tightly and cut off excess.
That is how to sew a button onto a garment, cushion or any home furnishings as a fastening or decoration.
Many online outlets such as Range will have buttons threads and other items that you may need. Hobbycraft shops are good as well.
Enjoy and keep practising your button sewing technique.
Affiliate offers
Please take care with any soft furnishing that it does not come into contact with any heat source.
If you have found an error on this page or want some more information on sewing cushions.
Please contact me . Thank you